Discovering Mendix VR/AR possibilities with WebXR
With the release of Mendix 10.10 we now have the opportunity to use the ´WebXR´ module with Studio Pro. This module allows us to use a variety of widgets designed for Artificial Reality (AR) and Virtual Reality (VR) applications, indicated by ‘XR’ from now on. Let’s take a closer look to find out what these widgets can do and see if we can achieve some high impact while keeping the code low.

WebXR
Mendix utilises the WebXR device API. With this you are able to create immersive XR experiences from within a web browser. This means that any Mendix application utilising this will work on multiple devices, including the HoloLens, Oculus, Apple vision pro and even the Google Cardboard. In other words: you are able to show 3D objects in a virtual or augmented reality environment. An added benefit is that the rendering is being handled by WebGL which is supported by every major web browser.
Development
So, let's take a look at Studio Pro and how (quickly) we can create an immersive experience. The starting point will always be the Container (XR) widget, see figure 1, which will need to contain all XR widgets on that page. Within this widget we can place our own 3D models or use one of the standard examples which Mendix provides out of the box. These standard options include a cube, configurable text (i.e. insert your own data!) and 3D objects loaded from a URL. Let’s start with a standard Sphere gadget.

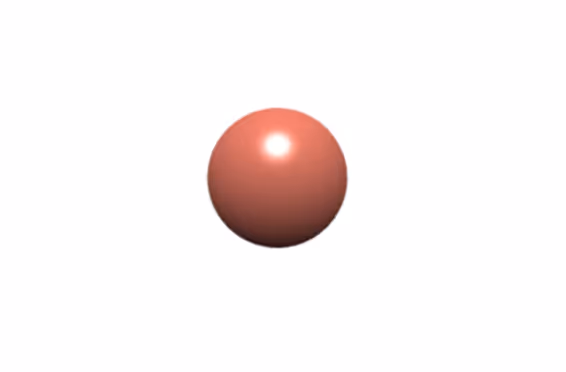
At this point all I did was add the WebXR module and place two widgets on a page. No configuration yet! Let’s take a quick peek at how this will look in the browser:
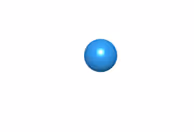
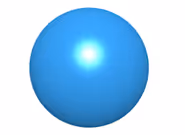
As you can see from figures 2 and 3 – we have a moveable 3D sphere within a couple of minutes! If we were to open this web application from an AR/VR device we would be instantly able to view this sphere in an immersive environment. Please note that there is no immersive experience icon available in figures 2 and 3 as this is running on a local http environment and this needs a https connection.
Configuration
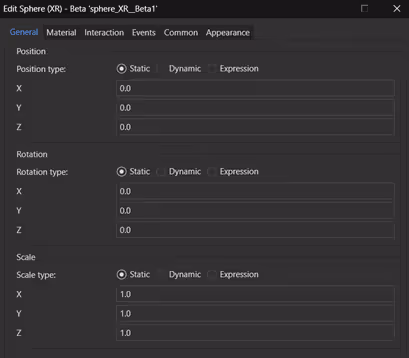
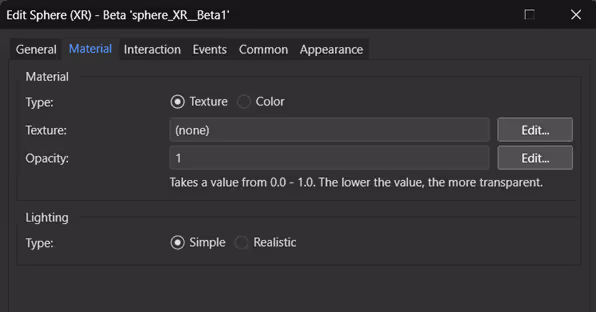
Let’s take a look at the configuration options we have to further expand our experience. We can adjust some basic settings like initial position and colour:
But where it gets really interesting is at the ‘Interaction’ and ‘Events’ tabs – this is where the Mendix magic happens!
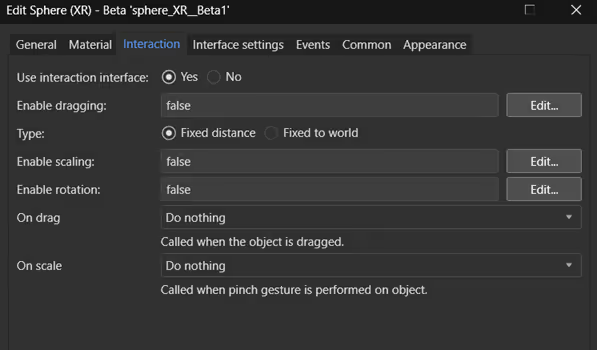
In the ‘Interaction’ tab we can indicate what exactly needs to happen when the user interacts with the object. We are able to call our own custom logic when interacting with the object – integrating the XR possibilities with our own relevant application data and custom logic!
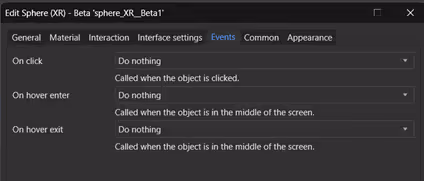
These same possibilities are present for on click actions and even on hover enters or exits. This means that we are able to show a (simple) 3D object and configure interactions with that object within a matter of minutes keeping everything low-code!
Let’s wrap this up by creating a simple on click event: toggling the colour of the sphere between blue and terracotta. To make this happen, we need a little bit of Mendix preparation. To keep track of the colour a non-persistent object has been created which holds the colour information in a Hex colour code. This object will serve as the main object of the page and the AR container will be placed within a DataView:

We can now configure the on click event so that it calls a Nanoflow:
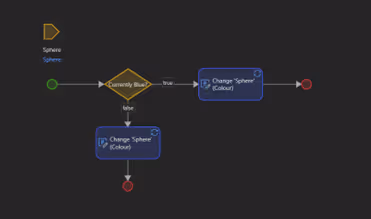
When we now click on the sphere it will toggle between blue and terracotta:
Can we help you?
Contact Martijn!


No items found.
Real-life example
Obviously, a simple sphere changing colours does not add a lot of business value. So let’s take a moment to imagine a more specific use-case where Mendix can really add business value. In my opinion this is most obvious when combining the AR capabilities with the data residing in your application.
Let’s start with a pretty straightforward example; imagine an application keeping track of orders that need to be handpicked within a warehouse. When an employee logs in he/she sees a list of orders that need to be collected that day. Using the configurable text gadget we would be able to show all of these items. Maybe even including the exact location in the warehouse or highlighting the location of specific items. Interacting with the orderlist in the AR environment gives us the options as we would have in a regular application. A user could checkmark an item which has been collected or indicate if a specific item is missing. Giving us options to immediately take actions based on these inputs; maybe send a message to the underlying warehouse management system that specific items need to be ordered or simply show the next order that needs to be picked.
We could also show comprehensive 3D models of cars, machines or any other type of machinery you can imagine. Maybe showing the defects in the 3D image or showing how a specific should look like so a user can compare the two. I feel the possibilities are endless here - what would your idea be?
Conclusion
It’s quite remarkable how quickly we are able to create a 3D object with which we can interact. On top of that we can call all of the standard Mendix actions to occur during specified interactions with the 3D object.